Creative Process: Veruna PSA
The Veruna PSA project has been one of my favorite projects in recent memory. It was created for a school of motion course where they guided and challenged you to create an explainer video for a mock client. Check out the case-study below.
The Brief
Veruna is a non-profit that helps that is aiming to help solve the worlds clean-water crisis. They take non-potable water and convert it into clean drinking water. The method they do this with is through a desalination and purification process.
For this specific project, Veruna wanted help raise overall awareness and get people to financially pledge to their cause.
Step 1. Concepts
Let me start off by saying this: I can’t draw. But it really doesn’t matter all that much if I can’t draw. When I set out to flush out some concepts I wanted to draw and just get some ideas out that aligned with the script. This stage is mostly that for me - just freely brainstorming and trying not to get too caught up in the technical aspects of a project. So for me, even my chicken scratch is good enough to just get my ideas out of my brain.
Step 2: Design
For the overall design style, there were a couple different styles I explored but ended up going with a more illustrative approach. I wanted something that could feel vector based but have some heavy textures in there. I thought this fit well with the brand and what they were trying to accomplish.
Step 3: Animation
The animation phase is probably my favorite parts of the creative process. For me it’s when the project really starts to come alive. This project had multiple scenes with either hands or characters so there was lots of rigging. There were also a couple parts of the overall design I slightly tweaked once I got into the animation phase - mainly the transitions. Despite what phase I’m in I always try to make sure stuff is working together smoothly. I don’t want to get too attached to a visual idea or storyboard and not feel the freedom to call an audible.
Plugins
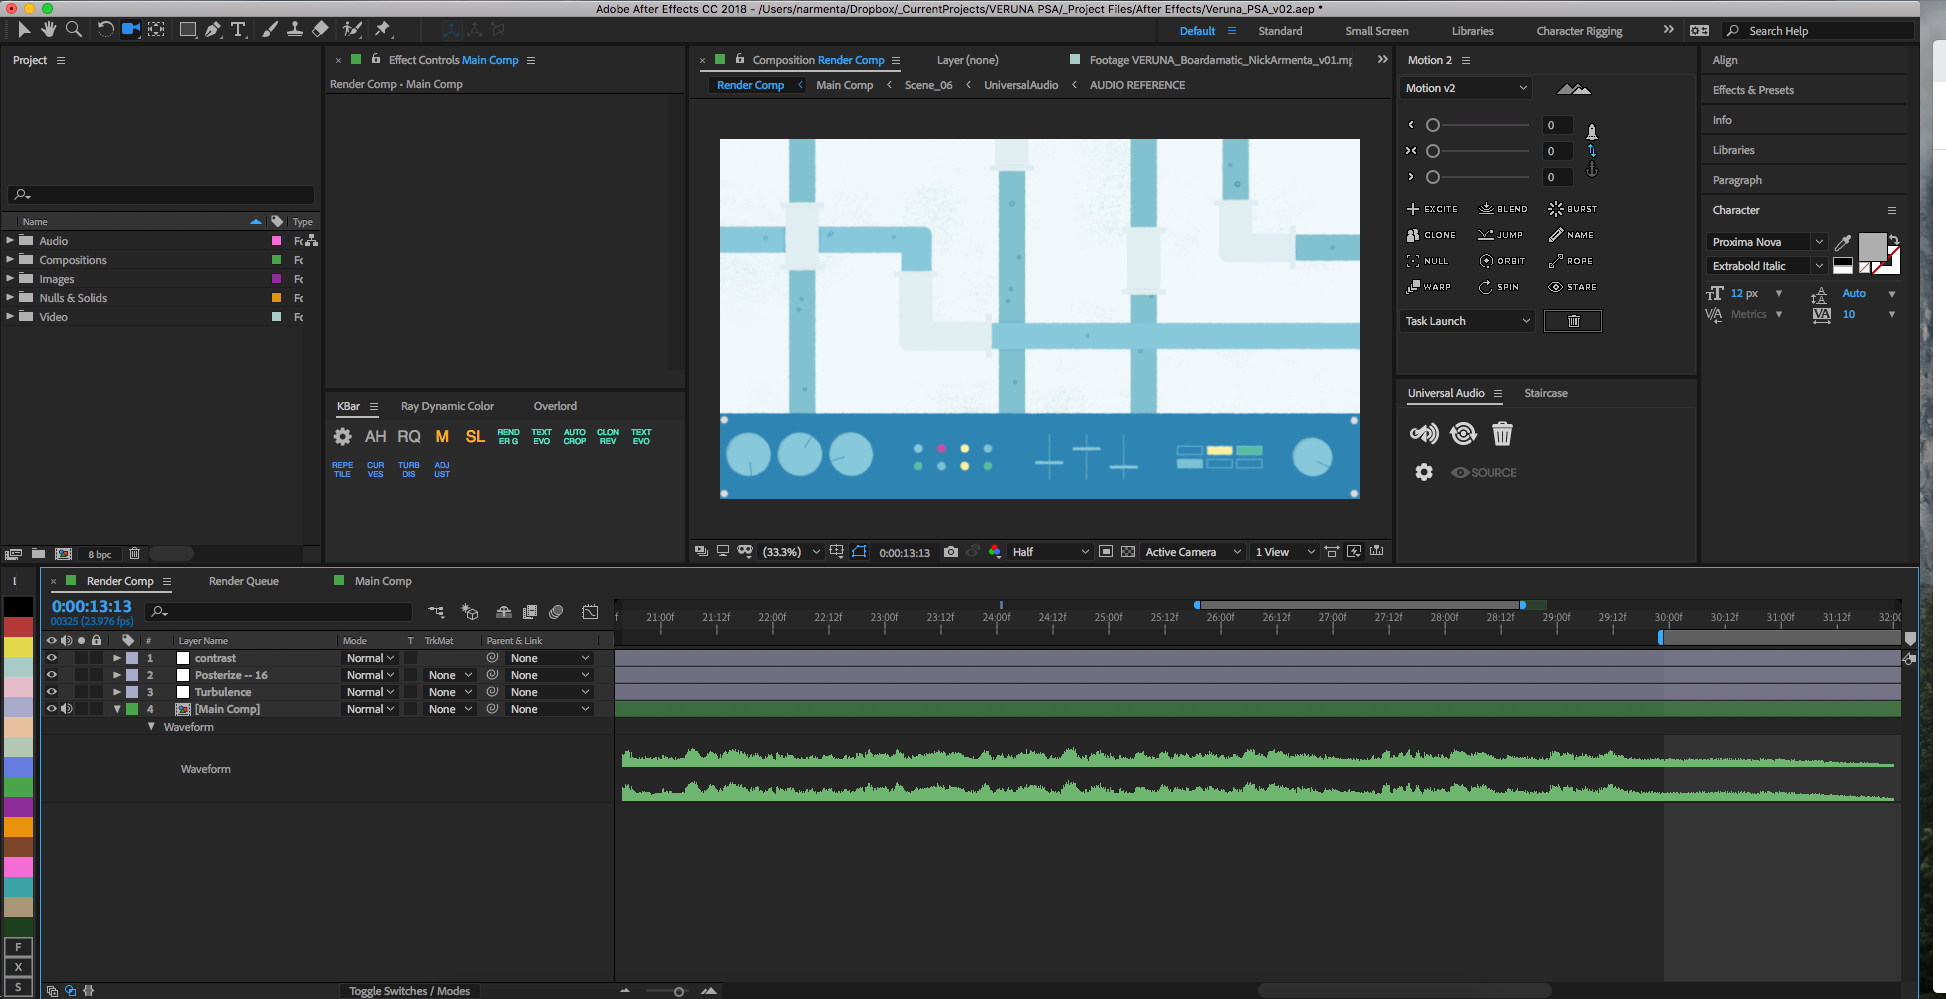
Couple tools that really helped me on this project:
KBar: I love having my main presets or menu items on a dock-able panel. Has speed up my work flow immensely.
Duik: Used it for all the character and hand rigging.
Super Lines: Very cool plugin that helped with the look of the transitions!
Universal Audio: Another helpful plugin that allows your source audio to be heard deep within PreComps. Another huge time saver.
Motion 2: Use this on almost every project. Mainly the name, null, and anchor point features.
Step 4: Finishing Touches
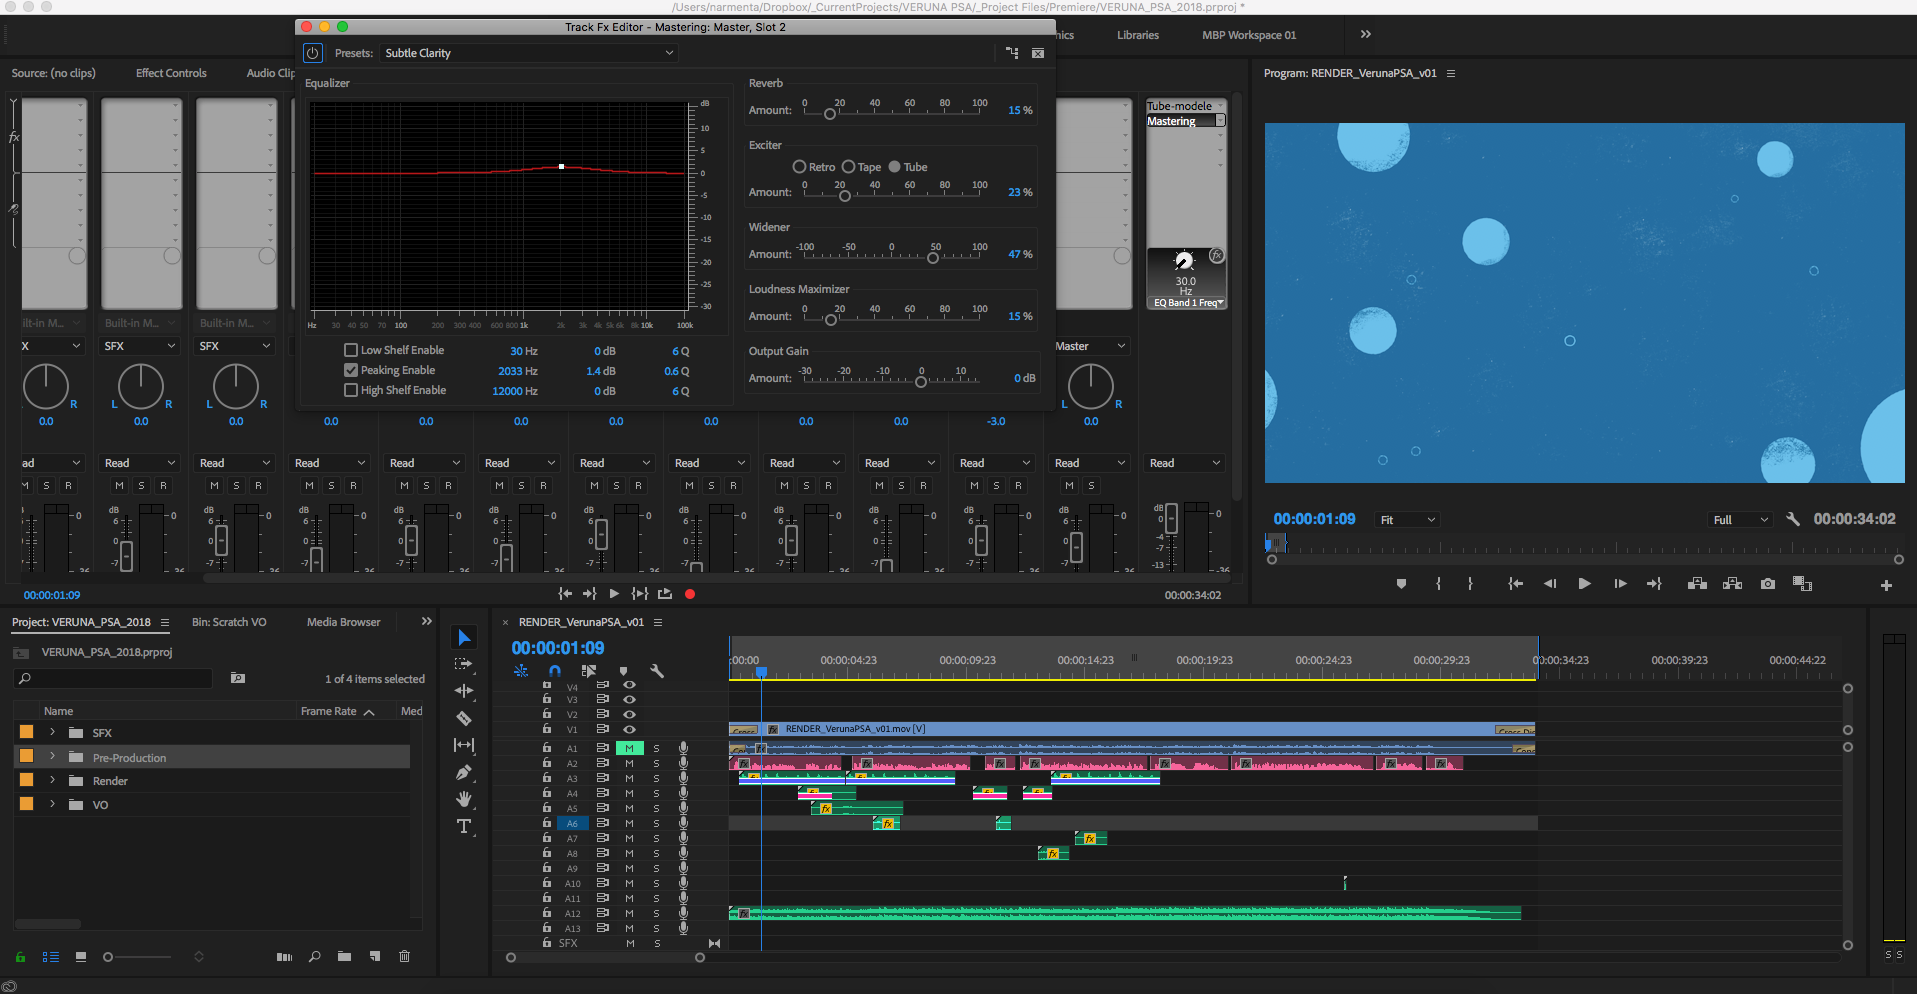
Once the animation was finalized, I pulled the render into Premiere and did some final touches. Added some sound effects and then did some slight audio mastering. Once that was finished - the master was exported!
That’s a wrap!
This was a super fun student project and I’m incredibly thankful to have been able to take the school of motion course.


